Preparing for a Deposition: What to Review and When
.png)

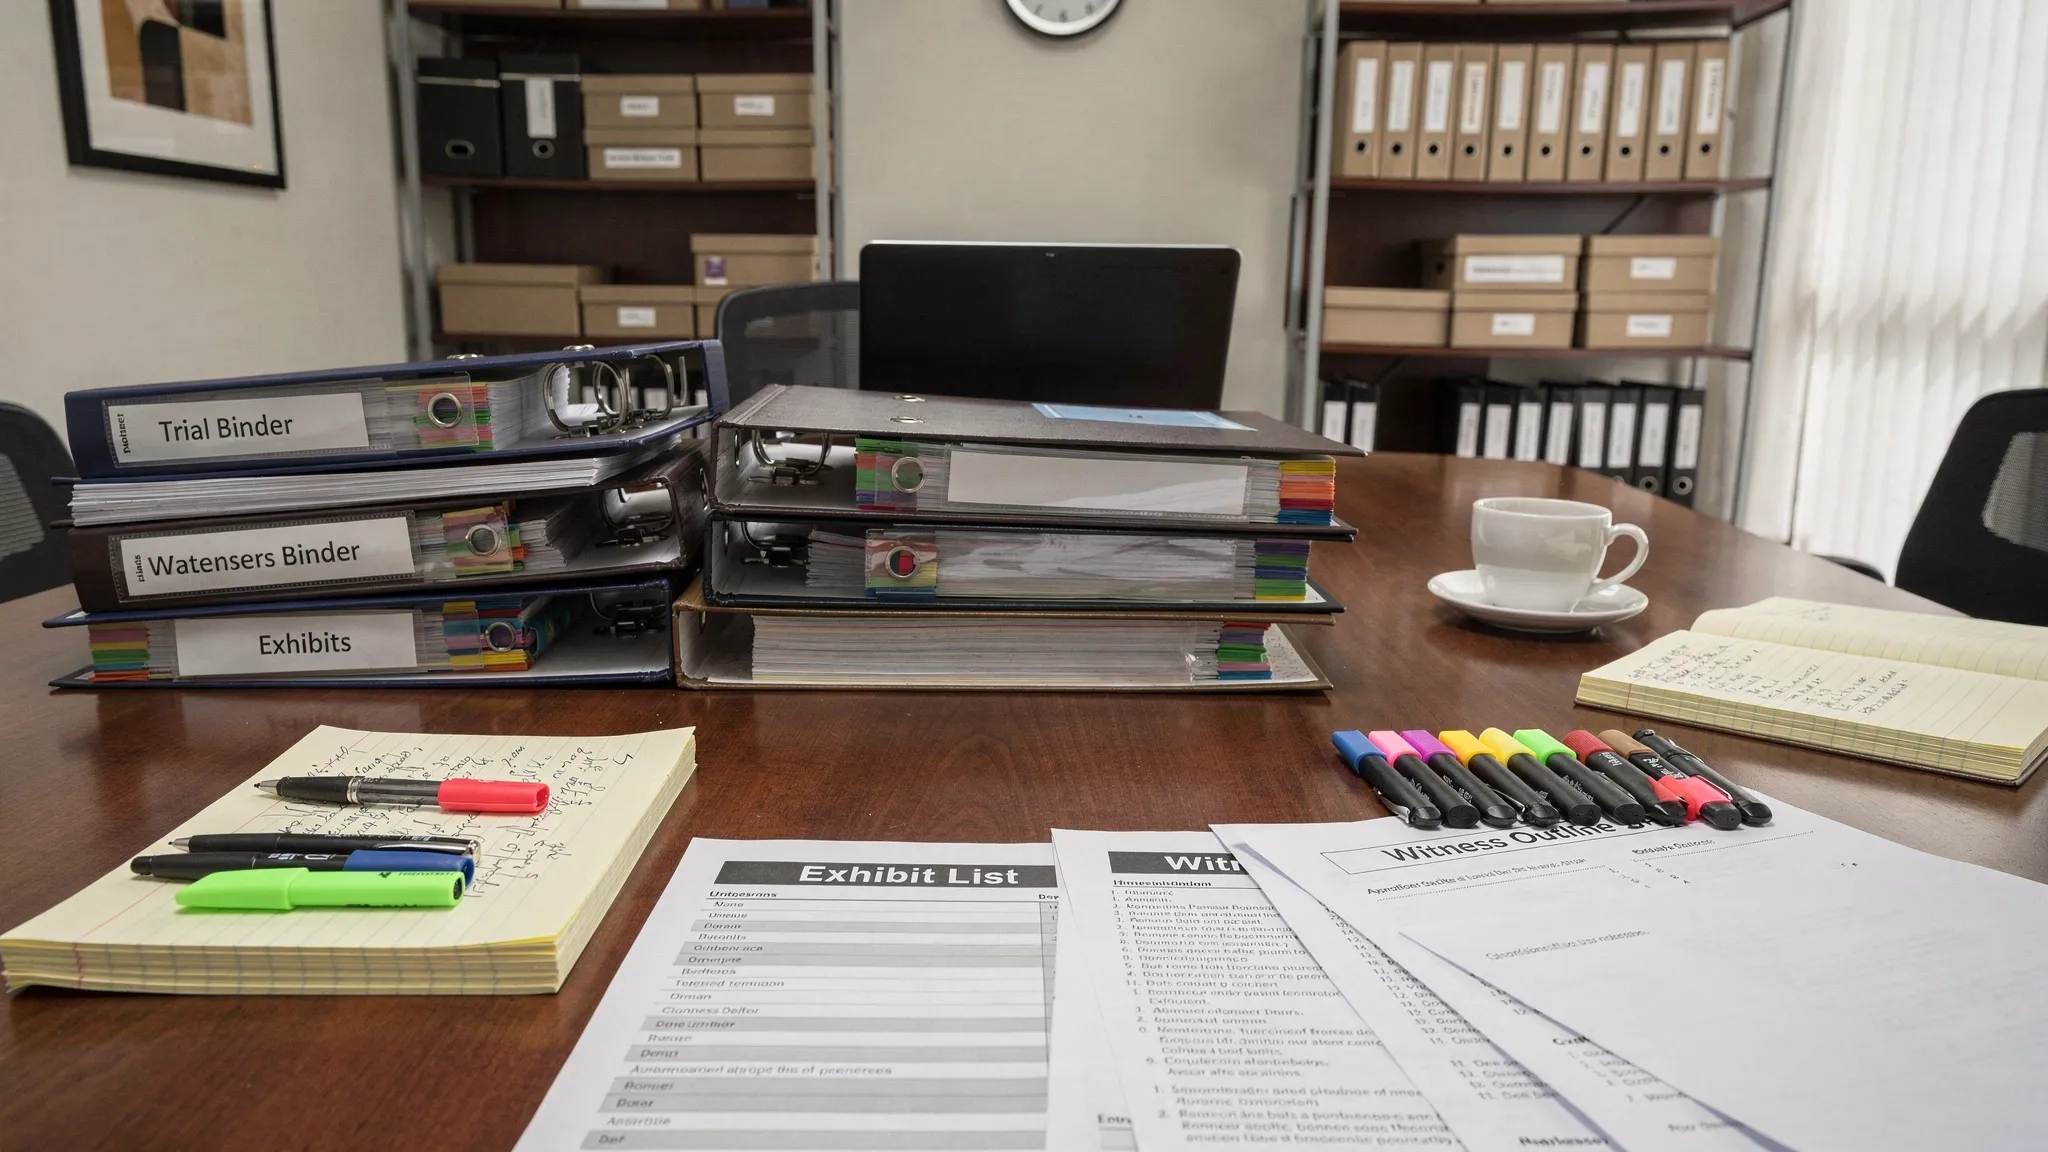
A strong deposition starts long before anyone hits “record.” The best litigators treat deposition prep like a timeline: gather the right materials early, refine themes as facts sharpen, then lock in exhibits and objectives close to the date. This guide breaks down what to review and when, so you can walk in with a clean record, tight outlines, and fewer surprises.
First, set the “why” for this deposition
Before reviewing a single document, write down the deposition’s purpose in one sentence. Examples:
- Preserve testimony on liability admissions.
- Pin down medical causation and damages chronology.
- Authenticate business records and establish foundation.
- Lock in positions for summary judgment or trial.
This “why” becomes your filter for what to read deeply versus what to skim.
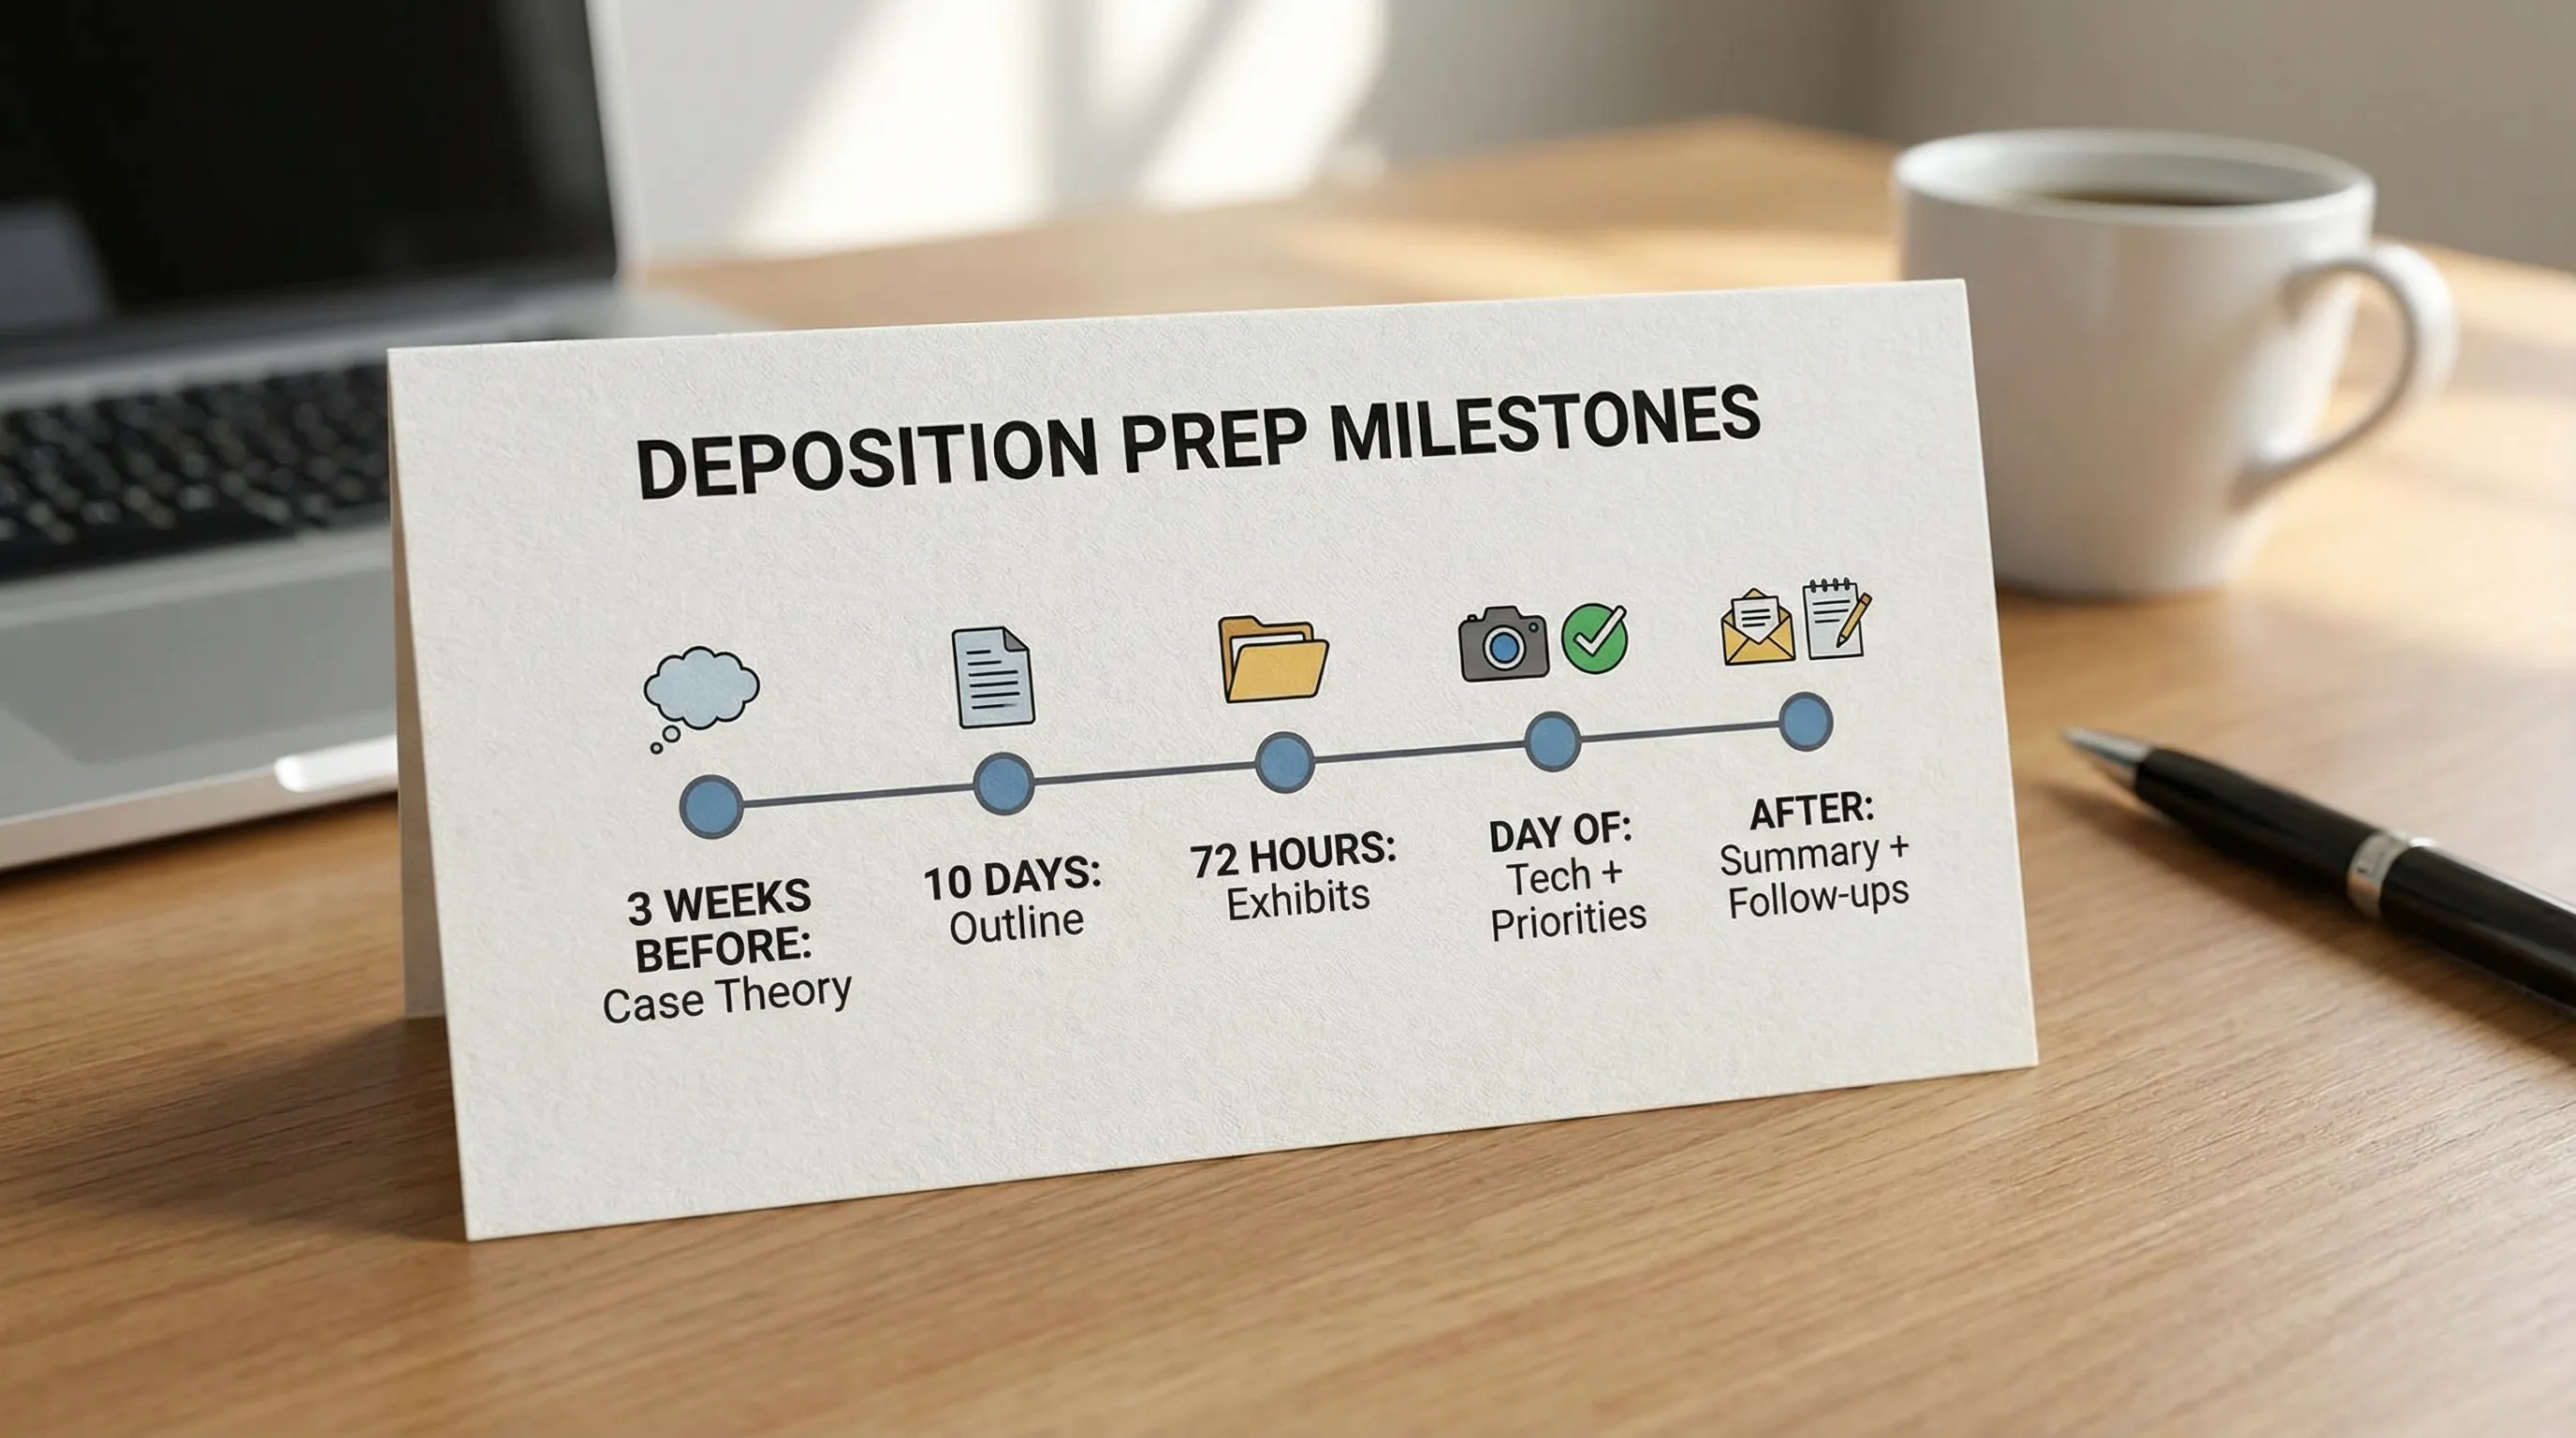
Deposition prep timeline (what to review and when)
Use this timeline as a practical default, then compress or expand based on your case schedule.
| When | What to review | What you should produce |
|---|---|---|
| 2 to 3 weeks before | Pleadings, key discovery, core records (medical, employment, incident reports), prior statements | A one-page case theory, issues list, and “must-have” testimony checklist |
| 7 to 10 days before | Interrogatory answers, RFP responses, admissions, produced documents, privilege issues | Draft outline organized by themes and elements, plus an exhibit short list |
| 48 to 72 hours before | Deposition notice, stipulations, protective order, logistics, impeachment clips | Final exhibit set, exhibit order, and clean impeachment packets |
| Morning of | Updated case developments, last-minute productions, tech checks | A tight “opening road map,” key questions, and fallback lines |
| After | Transcript priorities, errata strategy, follow-up discovery | A depo summary, admissions list, and action items for the team |
What to review in each bucket (and what you’re looking for)
1) The pleadings and the elements you must prove
Review the complaint, answer, counterclaims, and any dispositive motion briefing.
What you’re extracting:
- The legal elements that require testimony support.
- Affirmative defenses that can be weakened by concessions.
- Any allegations that were pleaded broadly and now need specifics.
If you practice in federal court, align prep with the mechanics of depositions under FRCP Rule 30 (for example, time limits, objections on the record, and conduct).
2) Discovery responses (the most efficient impeachment material)
Interrogatory answers, requests for admission, and verified responses are often your cleanest impeachment lanes.
Focus on:
- “I don’t recall” risk areas where a prior verification can refresh memory.
- Inconsistencies across different dates and signatories.
- Overbroad denials that can be narrowed into admissions.
3) The documents the witness touched (or should have)
Build a “witness-centric” mini file. It is usually more effective than a giant case dump.
| Document type | Why it matters in deposition | Typical goal |
|---|---|---|
| Emails, texts, Slack, call logs | Timing and intent, who knew what when | Admissions, contradictions, authorship |
| Medical records and billing | Chronology, causation, treatment gaps | Lock in timeline and alternatives |
| Policies, manuals, training records | Standard of care, notice, procedures | Foundation and deviations |
| Photographs, video, diagrams | Fix facts visually, reduce wiggle room | Commit witness to what is shown |
4) Prior statements (including “informal” ones)
This includes incident reports, adjuster notes, recorded statements, prior depo testimony, declarations, and even public posts.
Your goal is not to “catch” the witness, it is to commit them to a version that will hold up at summary judgment and trial.
5) Rules, orders, and boundaries
In the final 72 hours, review the deposition notice, any stipulated protocols, and confidentiality orders.
Common pitfalls to prevent:
- Questioning into protected material without a plan for handling objections.
- Accidentally eliciting privileged communications.
- Failing to mark exhibits correctly under your jurisdiction’s practice.
One week out: build an outline that actually works live
A usable outline is modular. It has sections you can reorder based on the witness’s answers.
A practical structure:
- Background and role (to establish foundation)
- Timeline (anchor dates, communications, key events)
- Topic modules (liability, damages, causation, notice, policies)
- Document authentication and admissions
- Clean wrap-up (anything else, identify custodians, preservation)
Keep a short “if they deny X” branch for each critical fact, tied to a specific exhibit.
48 hours out: finalize exhibits and impeachment packets
Aim for fewer, sharper exhibits. Too many documents reduce control.
Do a final pass to ensure:
- Each exhibit has a purpose (foundation, admission, impeachment, timeline).
- Page and line references are ready for likely contradictions.
- You can explain, in one sentence, why the exhibit matters.
If your witness is technical (IT, cybersecurity, systems administration), consider a quick jargon refresher so you can ask cleaner questions. Some attorneys use certification practice tests to understand baseline terminology and workflows before questioning (for example, cloud identity, logs, or network concepts). A resource like certification practice tests can be a fast way to close knowledge gaps without reading an entire textbook.
Day-of checklist (keep it boring on purpose)
The morning of the deposition, your job is to remove friction.
- Confirm appearance details (in-person vs remote, court reporter, videographer).
- Test audio, screen share, exhibit platform, and backups.
- Print or download a “hot list” of the 10 questions you must get answered.
- Re-check for last-minute productions and supplementation.
How AI can shorten prep without cutting corners
Deposition prep is often limited by time, not effort. The highest-value use of AI is accelerating the slow parts while you keep legal judgment.
With TrialBase AI, legal teams can upload case documents and quickly generate litigation-ready work product such as deposition outlines, medical summaries, and other case materials. Used well, that means less time building from scratch and more time pressure-testing themes, sequencing exhibits, and preparing impeachment.
Frequently Asked Questions
How far in advance should I start preparing for a deposition? Start 2 to 3 weeks before when possible, beginning with the pleadings and core records, then narrow into witness-specific materials the week prior.
What is the most important thing to review before a deposition? Verified discovery responses and prior statements are often the most valuable because they create clean impeachment and admissions opportunities.
How many exhibits should I bring to a deposition? Bring the fewest that accomplish your objectives. A tight, purposeful exhibit set is usually more effective than a large stack that dilutes focus.
Should I prepare different outlines for different witness types? Yes. Party witnesses, corporate representatives, and treating physicians require different structures, foundations, and document sets.
Make your next deposition easier to run
If your prep time is getting eaten by sorting records, building chronologies, or drafting outlines from scratch, consider using TrialBase AI to turn your uploaded documents into deposition outlines, medical summaries, and other case-ready materials in minutes, so you can focus on strategy and testimony control.