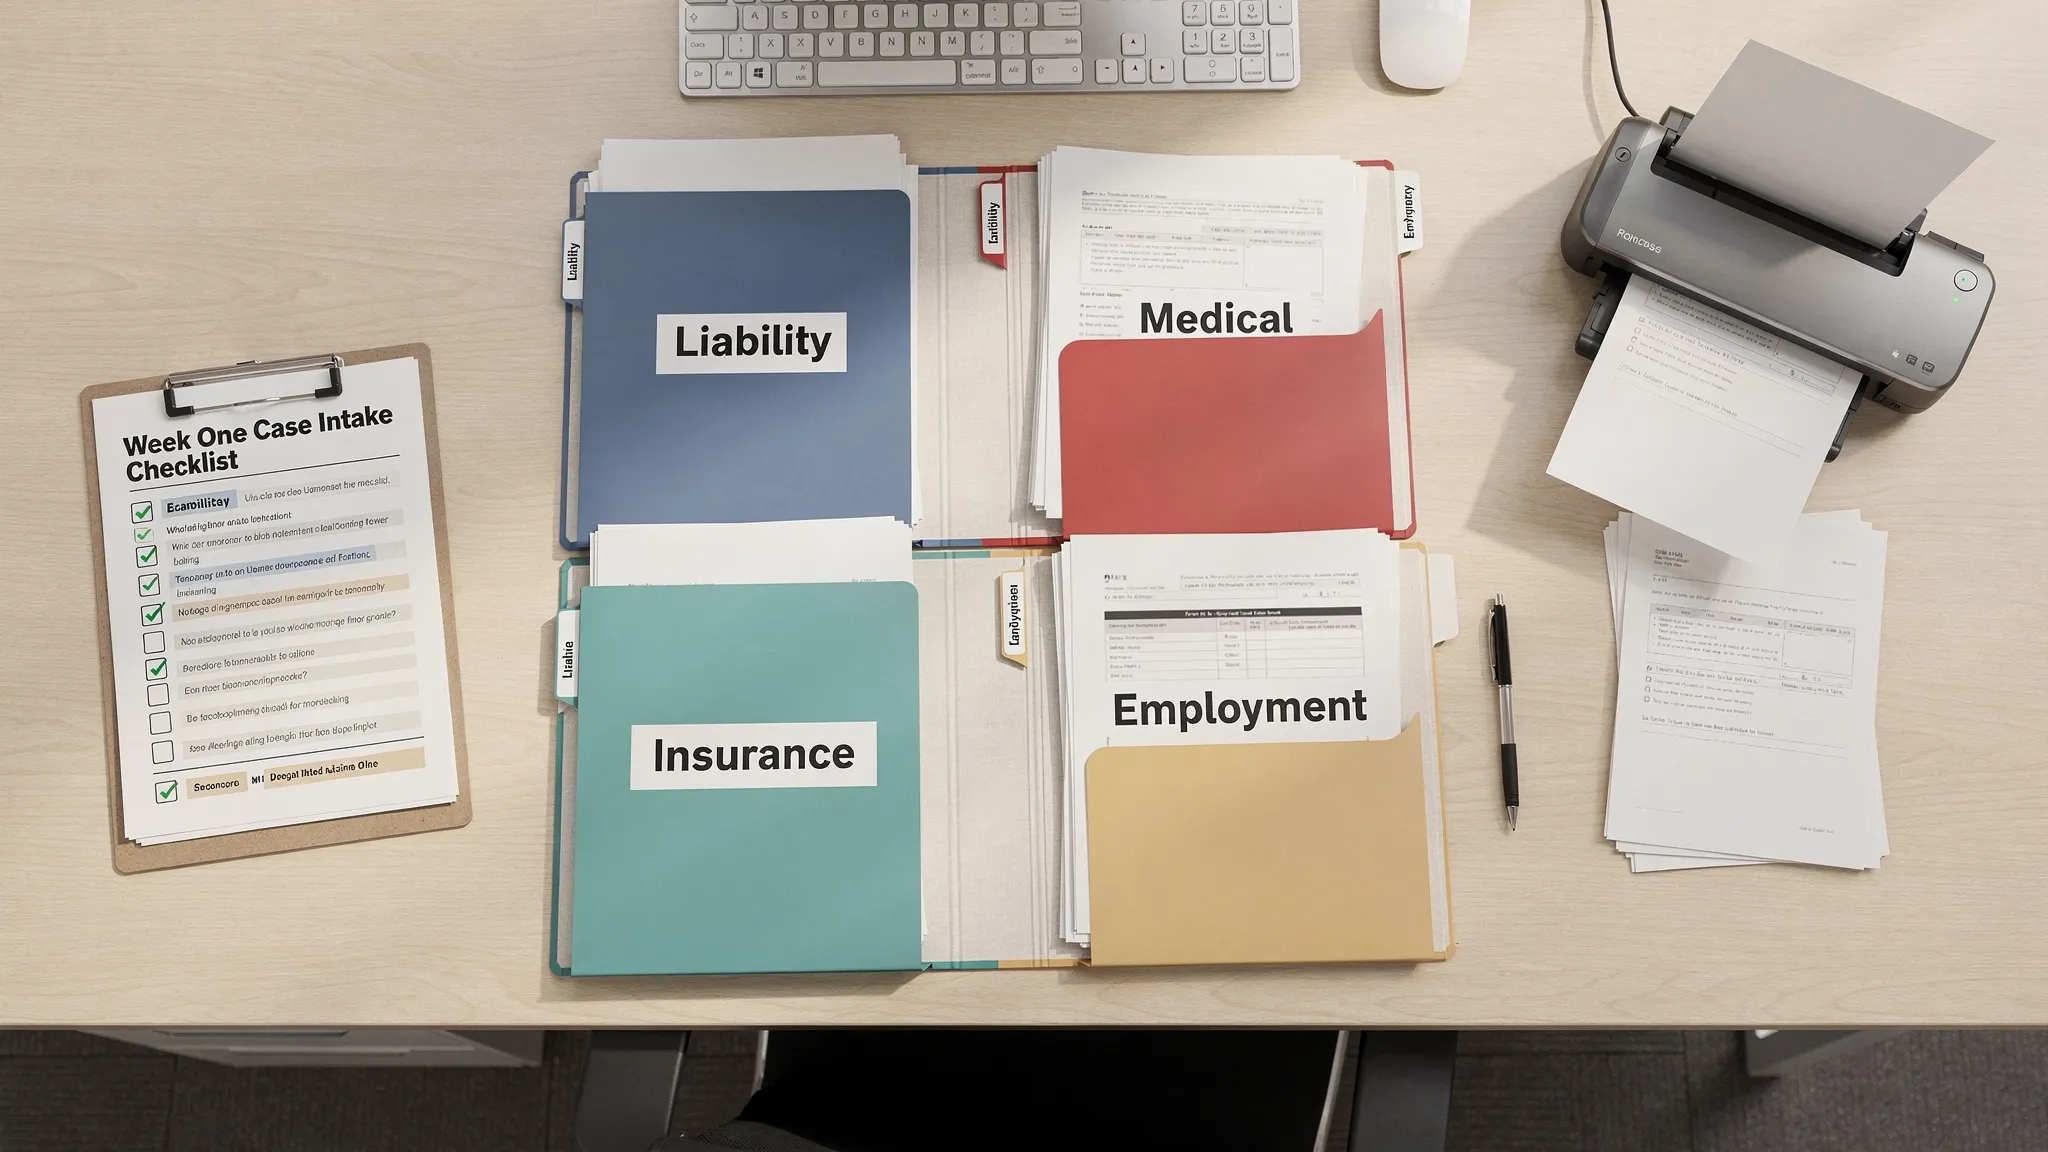
Case Intake Checklist: Documents to Collect in Week One
.png)

A strong case can get diluted fast if intake is sloppy. Week one is when you lock in the basics that drive every next step, liability, damages, coverage, and credibility, while memories are fresh and evidence is easiest to preserve.
This case intake checklist focuses on documents to collect in week one for common civil matters (especially personal injury) so your team can evaluate fast, build a clean chronology, and avoid preventable delays.
Before you collect anything: the “permission” documents
These documents are what let you ethically and efficiently obtain everything else.
- Signed engagement agreement and fee disclosures (plus any required jurisdictional notices): clarifies scope, fee structure, and who the client is.
- Conflict check record (internal): document the search and outcome.
- Client identity and contact sheet: photo ID, current address, phone, email, preferred contact method, emergency contact.
- Representation letters (as needed): letters of representation to carriers or opposing parties to stop direct contact.
When these are done first, your follow-up requests for records (medical, employment, insurance) are faster and easier to defend if challenged.
The core week-one packet (collect for almost every case)
Think in terms of proof, timing, and damages. If you can only get one set of documents in the first week, make it this one.
Incident and liability
Get documents that answer “what happened, where, who is responsible, and how do we prove it?”
- Client’s written narrative (signed and dated): include pre-incident condition, mechanism of injury, immediate symptoms, and all parties present.
- Photos and video: scene, vehicles, hazards, lighting, signage, injuries over time, property damage.
- Police/incident report and any supplemental pages: plus CAD logs if relevant.
- Witness list: names, numbers, emails, relationship to parties, short summary of what they saw.
- Defendant identifiers: full names, business entities, addresses, employer info, vehicle plate/VIN if applicable.
Medical and damages (fast-start version)
In week one, you are not trying to obtain every page of every chart. You are trying to gather enough to validate injury, treatment path, and billing anchors.
- Provider list: every facility and clinician seen since the incident (urgent care, ER, PCP, PT, imaging, specialists).
- ER/urgent care discharge papers and imaging reports (radiology impressions are high signal early).
- Current meds list and diagnosis list (what the client was told, even if informal).
- Itemized bills and payment ledgers you already have (often the client has portal screenshots or mailed statements).
Insurance and coverage
Coverage documents often decide whether the case is viable and how to frame demand.
- Auto declarations pages (and full policy if available): liability limits, UM/UIM, med pay, PIP, endorsements.
- Health insurance cards (front/back) and plan information: to anticipate liens, subrogation, and EOB flow.
- Homeowners/renters policies (premises claims) or commercial GL info (if known).
If the client is trying to locate or replace policy documentation quickly (for example, in UAE-based matters or cross-border clients), a comparison marketplace like InsuranceHub can be a practical starting point to identify coverage options and retrieve policy details.
Employment and wage loss
Even if wage loss is not the main driver, collecting basics early prevents a scramble later.
- Pay stubs (recent 8 to 12 weeks), W-2/1099, or tax return excerpts if self-employed.
- Work status notes from providers (off-work, restrictions, return-to-work).
- Employer contact and job description (formal description if available).
Authorizations that unlock records (get signatures in week one)
Authorizations are often the difference between “we’re waiting on records” and “we’re building the case.” Have a clean, consistent packet.
| Authorization | What it helps you obtain | Common pitfalls to avoid |
|---|---|---|
| HIPAA-compliant medical authorization | Records and billing from providers | Missing facility name, date range, or purpose language; unsigned/undated forms |
| Employment records authorization | Attendance, payroll confirmation, job duties | Not limiting scope, which can trigger objections or delays |
| Insurance release (as applicable) | Claim file materials, policy documents | Overbroad releases can waive protections; use tailored requests |
| Permission to request photos/device files | Original media with metadata | Accepting compressed screenshots only, losing timestamps/metadata |
If your intake process includes uploading documents into a litigation support tool, this is also the week to standardize filenames (date-first), and capture source notes (who provided it, when, and how).
Preservation and “do not lose this” items
Week one is when you prevent evidence from disappearing.
Send or draft preservation notices early
Preservation letters should be considered whenever evidence is likely to be overwritten or discarded (surveillance footage, fleet telematics, maintenance logs, incident reports, platform account data). Keep proof of delivery.
Capture devices and accounts (without overreaching)
Ask for:
- Phone photos/videos in original format (AirDrop or cloud share link, not texted copies)
- Relevant app data (rideshare receipts, delivery logs, navigation timestamps)
- Social media handles for internal monitoring and client counseling (do not instruct deletion)
Document what you collected and what you asked the client to preserve.
A week-one schedule that keeps the team moving
Instead of “collect everything,” run intake in passes.
Day 0 to 1: viability and stop-the-bleed
Finalize engagement, identify defendants, get the client narrative, capture photos/videos, request the incident report, and send representation letters.
Days 2 to 3: coverage and treatment map
Obtain declarations pages, health insurance info, provider list, and the first wave of discharge summaries and imaging reports. Get signed authorizations.
Days 4 to 7: damages foundation
Start wage documentation, begin records requests, confirm lien risks, and build a first-pass chronology (incident, treatment milestones, work impact).
Turn documents into work product faster (without cutting corners)
Once your week-one documents are in, the bottleneck becomes synthesis: summarizing medicals, spotting gaps, and drafting a demand-ready narrative.
Platforms like TrialBase AI are designed for this stage, turning uploaded records into litigation-ready outputs (for example, medical summaries, demand letter drafts, deposition outlines) so your team can spend more time on strategy and less time reformatting information.
Quick quality check before you leave week one
You are in good shape if you can answer these from your file:
- Who are all potentially responsible parties, and what proof supports liability?
- What is the treatment timeline so far, and what records are still missing?
- What coverage exists, and what information is still unverified?
- What evidence is time-sensitive, and what preservation steps are documented?
Build week one like you are preparing to explain your file to a new attorney in five minutes. If the documents tell a coherent story that early, everything downstream gets easier.